Access Route
Start ╪
Programs ╪ Productivity ╪ Microsoft Word
Ease of Use
Easy llííí
Difficult
![]() No
No
![]() Yes
Yes
MICROSOFT WORD 97
 |
Access Route Ease of Use |
Microsoft Word 97 helps you with everyday's writing tasks and makes complex document writing very simple. Microsoft Word also features facilities to communicate and share information through online technologies, such as electronic mail and the Internet.
The Microsoft Word window is divided into different parts:
1- The menu bar: It contains all the commands of the software. Click on a menu to access its command list.
2- The buttons bar: The buttons are shortcuts to the most often used commands (Open, Print, Save...)
3- Horizontal and vertical rulers: The rulers give you useful information about your document's layout and dimension.
4- Scroll bars: Use the vertical and horizontal scroll bars to display the parts of the document that are out of the screen.
5- The Status bar: The status bar provides information about the current state of what you are viewing in the window and any other contextual information.
When you start Microsoft Word, it automatically opens a new blank document. So, you can start typing immediately.
You can use different templates to create a document. The templates already contain standards texts and layouts, so you can speed up the creation of your text by just adding your own information.
To start a new document from a template select New in the File menu and then choose the type of template. You will find there are different types of templates: such as memos, curriculum vitae, letters, info reports.
Choose New Document in the General thumbnail to start with an empty file.
To open an existing document, select Open in the File menu. You can use the tools icons at the top of the window to select different viewing modes. Such as to preview a document or to view document properties.
After typing your text, you can change a huge range of settings for a paragraph, a sentence, a word or a group of words.
But you must select the objects you want to change first:
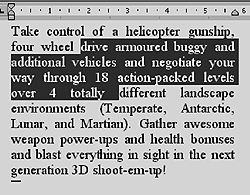
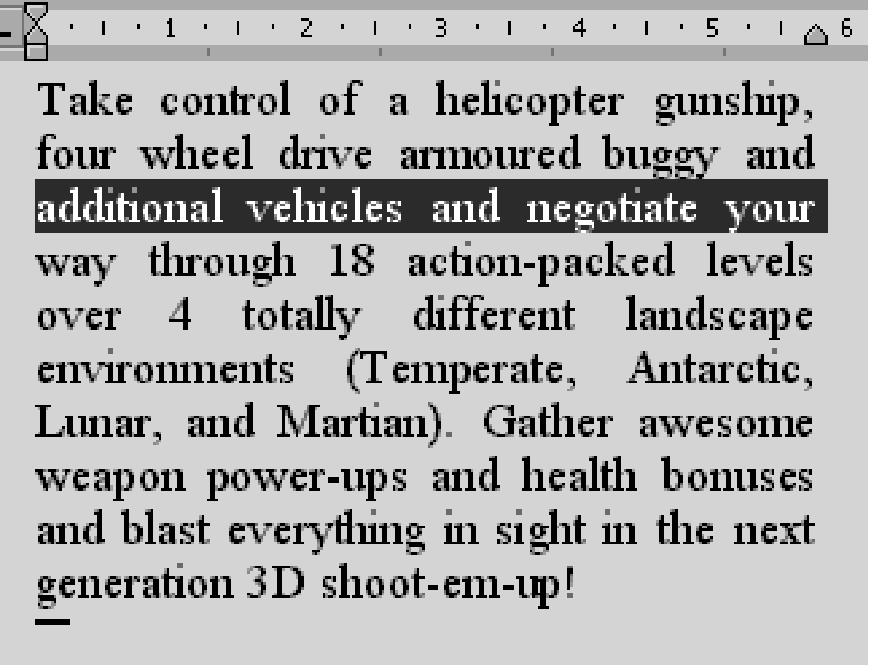
1- To select text click and maintain the left mouse button and drag the mouse over the text. Release the mouse button to stop the selection. The selected text is displayed in reversed colours.

2- To select a word, double click on the word.
3- To select a line, click on the left of it and then drag the mouse up or down if you want to select several lines.

B- Inserting, moving and removing text
To Insert text, click where you want to insert text and then type your text.
To remove text, select the text you do not want any longer and hit the Del key.
To move text, select the text, click on it, and drag and drop it at the new location.
You can easily move or duplicate any object (text, picture,…) from one document to an other, or within the same document with the cut, copy & paste functions.
Cut
This function will remove your selection from your document, put it into the computer memory. You can use it later from the memory with the Paste function.Click
on the button bar or select Cut in the Edit menu or hit <Ctrl + X>.
Copy
This function operates the same way as the Cut function but it does not remove the selected text from your document. Instead, it duplicates it into the memory. You can duplicate long sentences with this function.Click
on the button bar or select Copy in the Edit menu or hit <Ctrl + C>.
Paste: This function inserts the object (text, image,...) placed in the memory with the cut or copy function.
Position the cursor where you want to insert the text or picture. Click
on the button bar or select Paste in the Edit menu or hit <Ctrl + V>.
D- Changing the look of the text

In the common buttons bar, you will find here plenty of tools to modify the layout of your text.
From left to right:
- Style Menu, to define the style you want to apply to the full paragraph or text.
- Fonts Menu, to choose fonts. These fonts are common for almost all the software titles you will use which need fonts (Works, Corel software…)
- Size Menu, to set up the size of the font.
Bold, Italic and Underline icons.
- Alignment options, to align left or right, centre or justify.
- Bullets and Numbering icons, to make lists.
- Decrease and increase indent, to make your text more readable.
- Borders icon, for the arrays and tables.
- Highlights tool and Font Colour, to make fancy effects.
All these functions and much more are available from the menu bar.
If you make a mistake, it is easy to go back using the Undo and Redo buttons to undo or redo actions you have just made.
Red lines may appear under some words while you are typing your text.This is the automatic spelling and grammar check: it underlines incorrect words or expressions .
Click on the right button of the mouse whilst on the word to get a suggestion from Microsoft Word. You can correct the word by clicking on the suggestion or you can add it to the dictionary.

You can also launch the complete check of the document. Go in the Tools menu and select the Spelling and Grammar command.
Word will go through the document and stop at each word or expression misspelled or unknown.
3/4- SAVING AND PRINTING YOUR DOCUMENTS
To save your work, click on
on the button bar or select Save in the File menu. The first time you save a document, Word asks for a name and a location on your hard disk.
To see your document as it will appear on paper, click on
on the button bar or select Print preview in the File menu.
To print you have a direct shortcut to your printer by clicking on
or if you prefer to set up the printer settings, go in the File menu and select Print.
You can get an assistant to help and guide you during your work. Click on
on the button bar and an "assistant" will appear on your screen. The assistant is interactive help linked to the actions you are doing.
Type a question and click Search to get the topics related to what you are looking for. You can find answers to your questions or advice on how to build a better document.
Discover the Microsoft Word web site at: http://www.microsoft.com/word
Now that you know the basics, you are ready to explore on your own. Remember, on-line help is always available to guide you through any task.